How to use Free Version of Loom
Using Loom for Tech Support Issues
Effective communication is vital, and we're eager to use any tools and technologies that make it simpler and more effective! Loom is a versatile screen recording tool that works with almost any platform to simultaneously record your desktop screen while using your camera and microphone. We'll focus on how to use the free version of Loom effectively.
At Local Business First, we rely on Loom's screen recording and screenshot features to assist our clients promptly and effortlessly with any website support issues they may have.
Use Case:
If you submit a support ticket requiring technical assistance, we recommend quickly recording your issue using Loom. This allows our expert website builder to see what you're experiencing and respond accordingly.
Getting Started with Loom Checklist
- Install Loom
- Create your Loom Account
- Select your video recording settings
- Record your video
- Advanced: edit your video if needed
- Share your video
- Using Loom for screenshots
How to Install Loom
Ther are two ways to use Loom for screen recording and screenshots: Google Chrome Extension and the Desktop version.
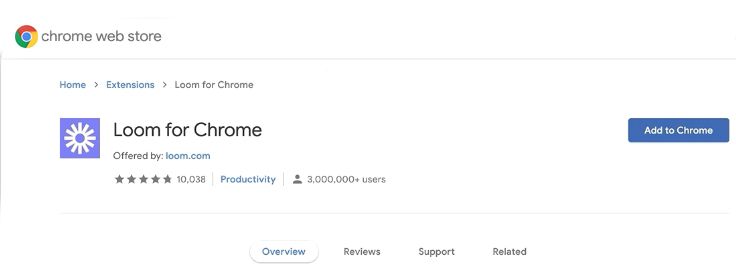
1. Installing the Loom Chrome Extension
Visit the Chrome store here and and install the Chrome extension.
2. Installing Loom on Your Desktop
If the Chrome browser is not available, visit the Loom website to install Loom on your Mac or PC.
Follow the installation instructions provided and start the app.
Create a Loom Account
Open the Loom app after installation or click the Loom symbol in the upper right corner of your browser. When granting access for the first time, select "One-Click Access" from the popup that comes on the screen and just grant what is necessary.
Select Video Recording Settings
Before you start recording, you will be prompted to choose what you want to share: Full Screen, Window, Current Tab, or Camera Only.
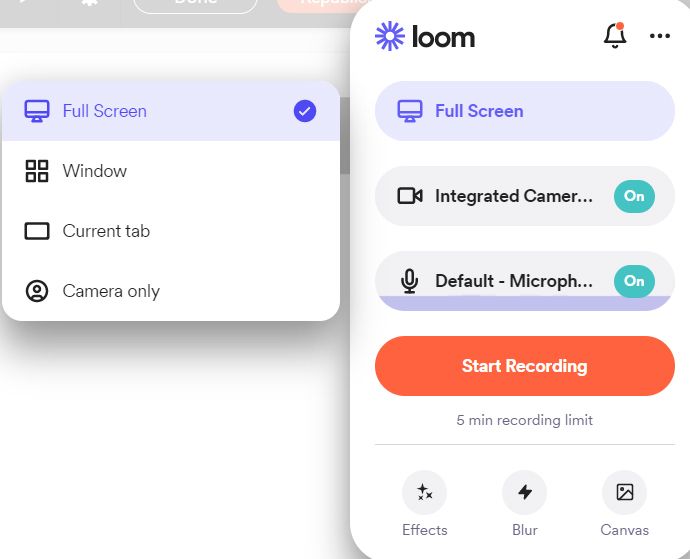
- Screen and Camera: Use this option to show information on the screen while keeping your face visible.
- Screen Only: Record your screen along with your voice audio.
- Camera Only: Capture video and audio without recording your screen.
Record the Video
Once you've selected the appropriate settings, start recording. A 3-second timer will appear before recording begins. When you are done recording, rename and share your video.
If you need more help creating your first video click here.
Advanced: Edit Your Video (if needed):
- While recording, you can utilize Loom's sketching tools and markers directly on your screen to call attention to certain aspects. You may also pause the recording at any time if you need to think or if you are being interrupted.
- You can also change the settings of the camera bubble size during the recording by making it bigger or smaller or even removing it completely.
- By selecting the red stop button, you will stop recording. Direct access to Loom's website for editing will be provided.
Share Your Video
Now that you've finished recording your video, you can now share it!
Watch this brief video on how to
share your videos with Loom and follow along with the steps below:
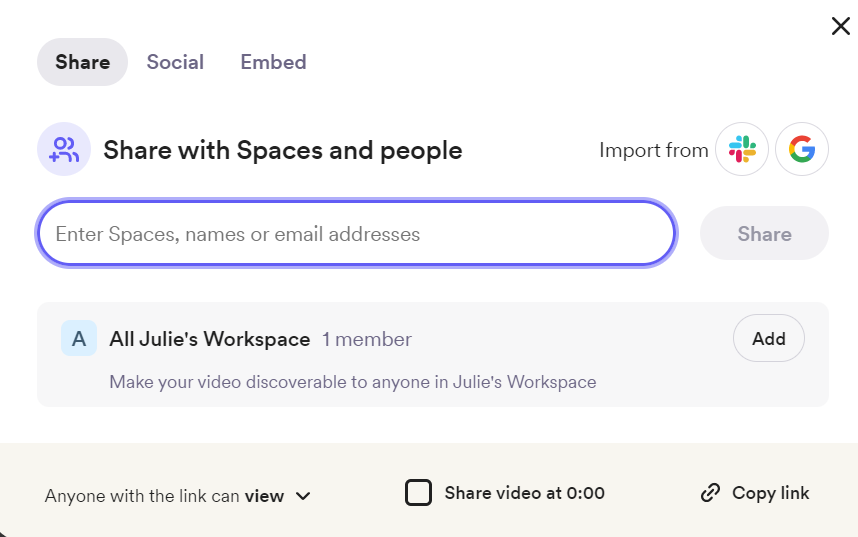
- First, click Share which is located above your video. This will produce a menu where you can type in the names or email addresses of those you wish to share with, you can also import these contacts from Google. If you have a group already, you may simply choose the group name.
- Copy Link provides you the option of sharing a video link alone.
- The Embed option will let you to embed your video into another program.
- The
Social tab allows you to distribute your video through Facebook, LinkedIn, Twitter, or Gmail.
After stopping the recording, you can give your recording a name, then Share it by typing an email.
How to Use Loom for Screenshots
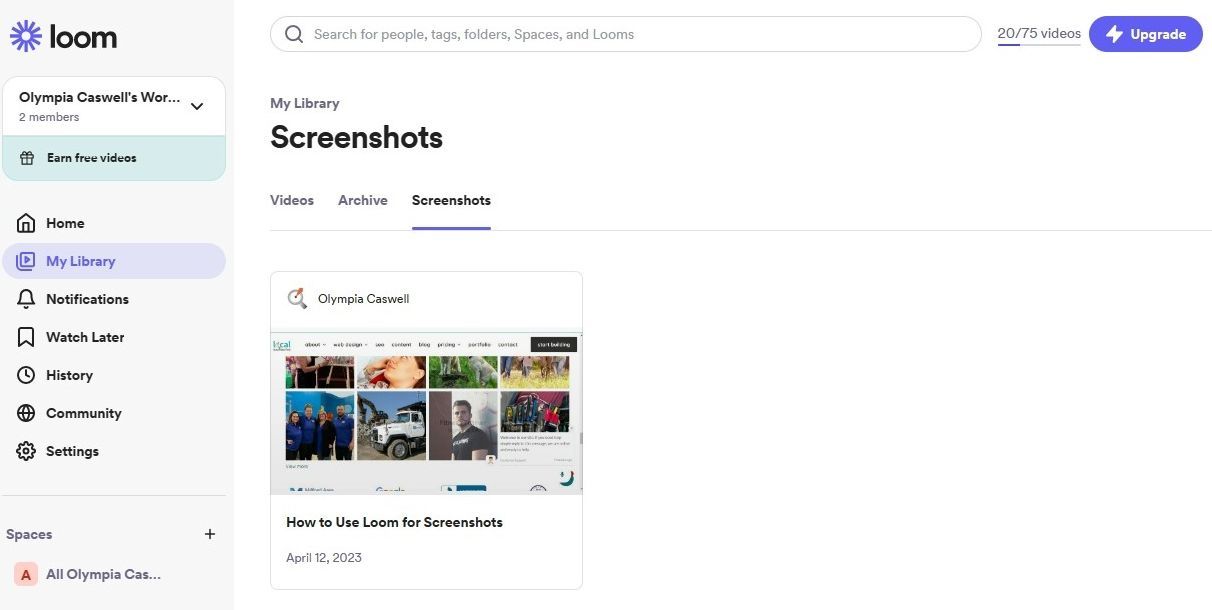
Loom also offers a convenient way to capture screenshots. Each screenshot comes with a shareable URL to allow you to quickly and easily share it with the rest of your team and external parties. You can find your screenshots in the Screenshot tab of your Loom Library.
To take a screenshot either use cmd + shift + 1 (Mac) or ctrl + shift + 1 (Windows) or use the "Start Capture" button which is located under the Screenshot tab.
- For a custom size use ctrl + shift + 2 (Windows) or cmd + shift + 2 (Mac).
- Your screenshot will be opened in a new tab with a shareable link.
- After stopping the recording, you can give your recording a name, then share it by typing an email.
You can find more details on how to create Loom videos and screenshots on the Loom on PC, and on the Loom on Mac as well.